Intercepting Web Requests
Now that we have set up our proxy, we can use it to intercept and manipulate various HTTP requests sent by the web application we are testing. We'll start by learning how to intercept web requests, change them, and then send them through to their intended destination.
Intercepting Requests
Burp
In Burp, we can navigate to the Proxy tab, and request interception should be on by default. If we want to turn request interception on or off, we may go to the Intercept sub-tab and click on Intercept is on/off button to do so:

Once we turn request interception on, we can start up the pre-configured browser and then visit our target website after spawning it from the exercise at the end of this section. Then, once we go back to Burp, we will see the intercepted request awaiting our action, and we can click on forward to forward the request:
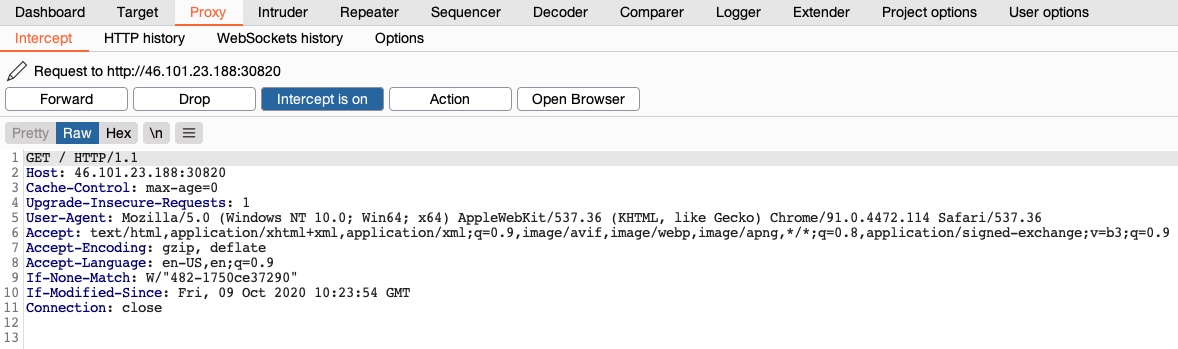
Note: as all Firefox traffic will be intercepted in this case, we may see another request has been intercepted before this one. If this happens, click 'Forward', until we get the request to our target IP, as shown above.
ZAP
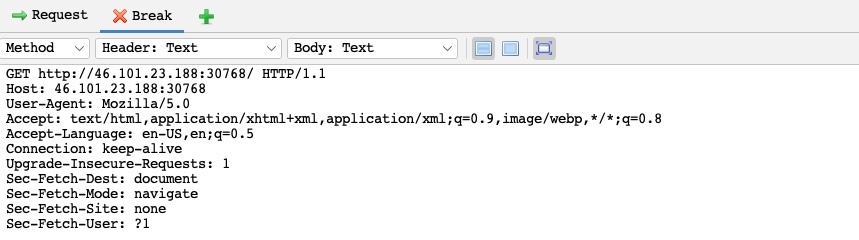
In ZAP, interception is off by default, as shown by the green button on the top bar (green indicates that requests can pass and not be intercepted). We can click on this button to turn the Request Interception on or off, or we can use the shortcut [CTRL+B] to toggle it on or off:

Then, we can start the pre-configured browser and revisit the exercise webpage. We will see the intercepted request in the top-right pane, and we can click on the step (right to the red break button) to forward the request:
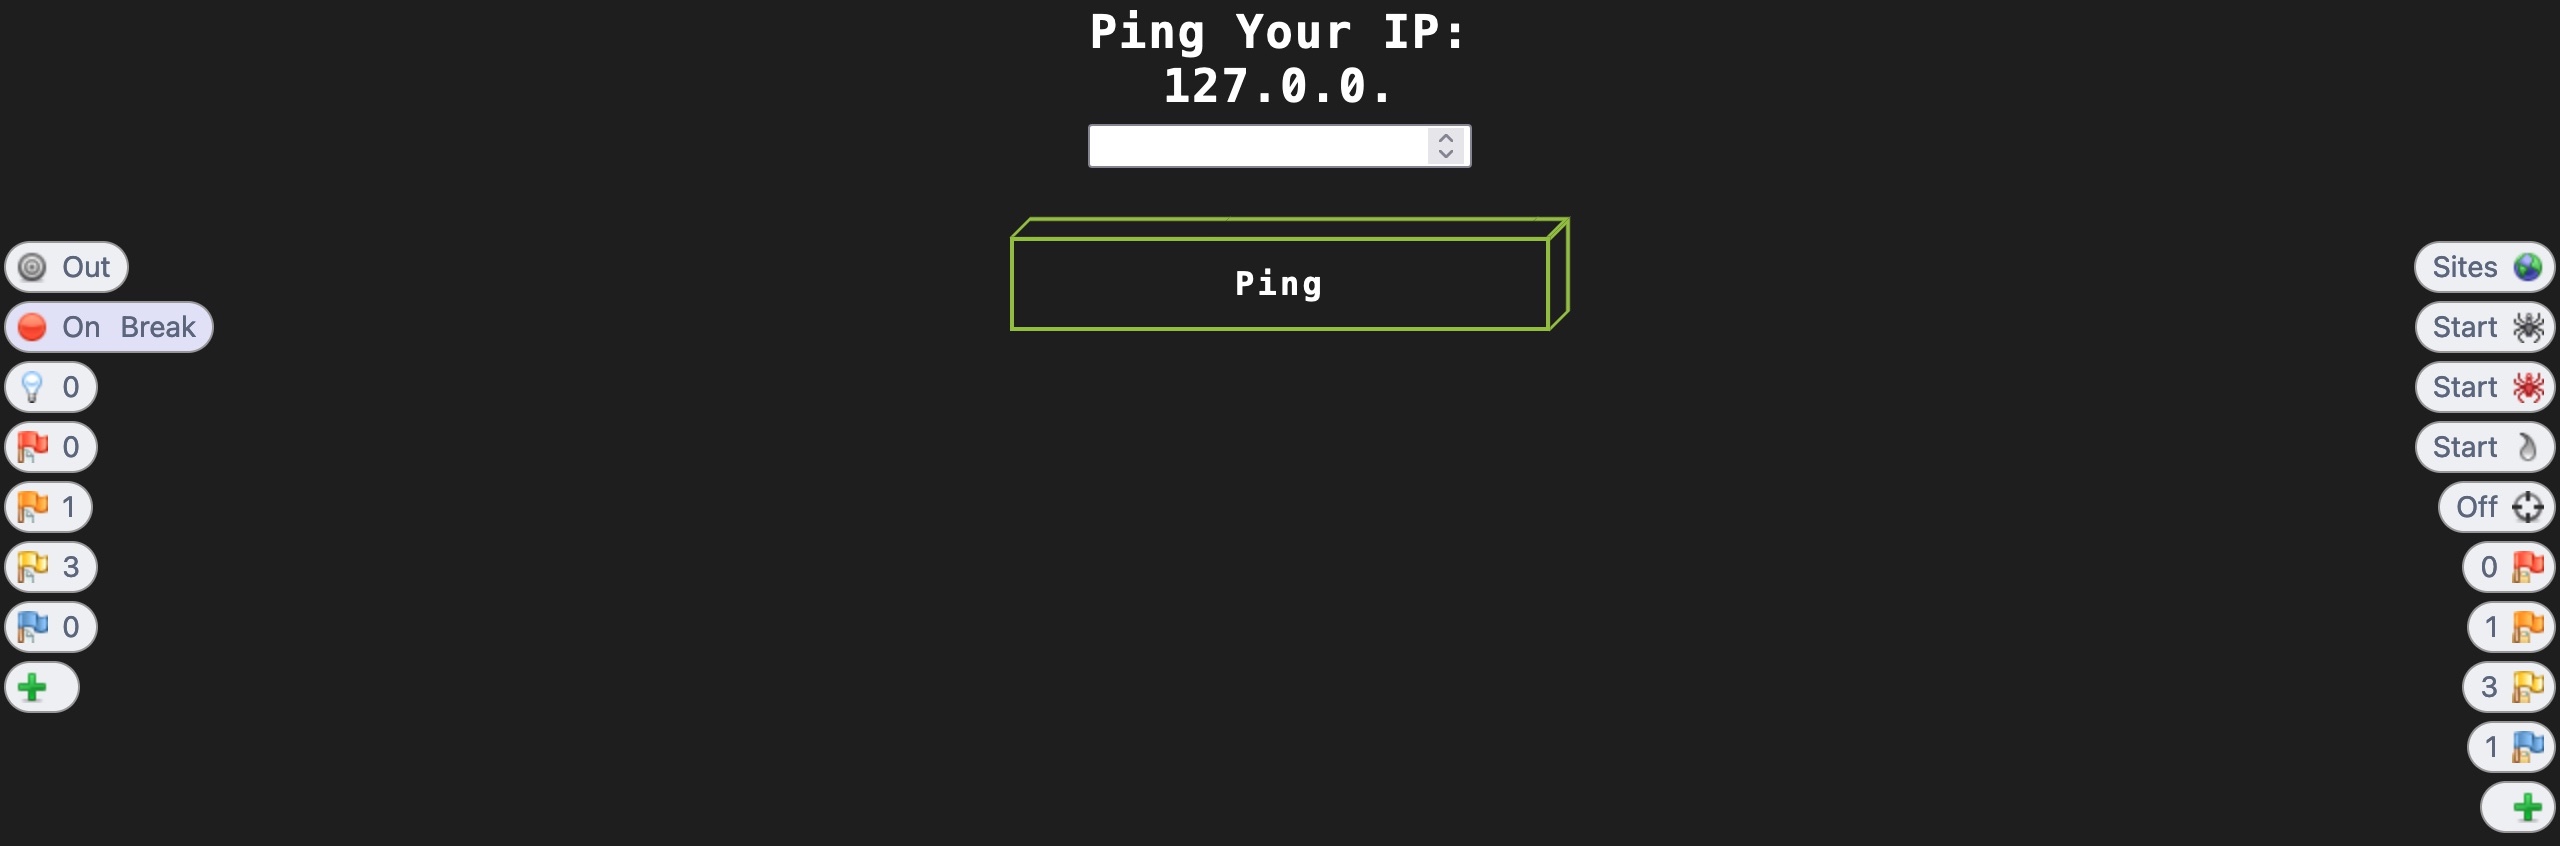
ZAP also has a powerful feature called Heads Up Display (HUD), which allows us to control most of the main ZAP features from right within the pre-configured browser. We can enable the HUD by clicking its button at the end of the top menu bar:

The HUD has many features that we will cover as we go through the module. For intercepting requests, we can click on the second button from the top on the left pane to turn request interception on:
Note: In some versions of browsers, the ZAP's HUD might not work as intended.
Now, once we refresh the page or send another request, the HUD will intercept the request and will present it to us for action:
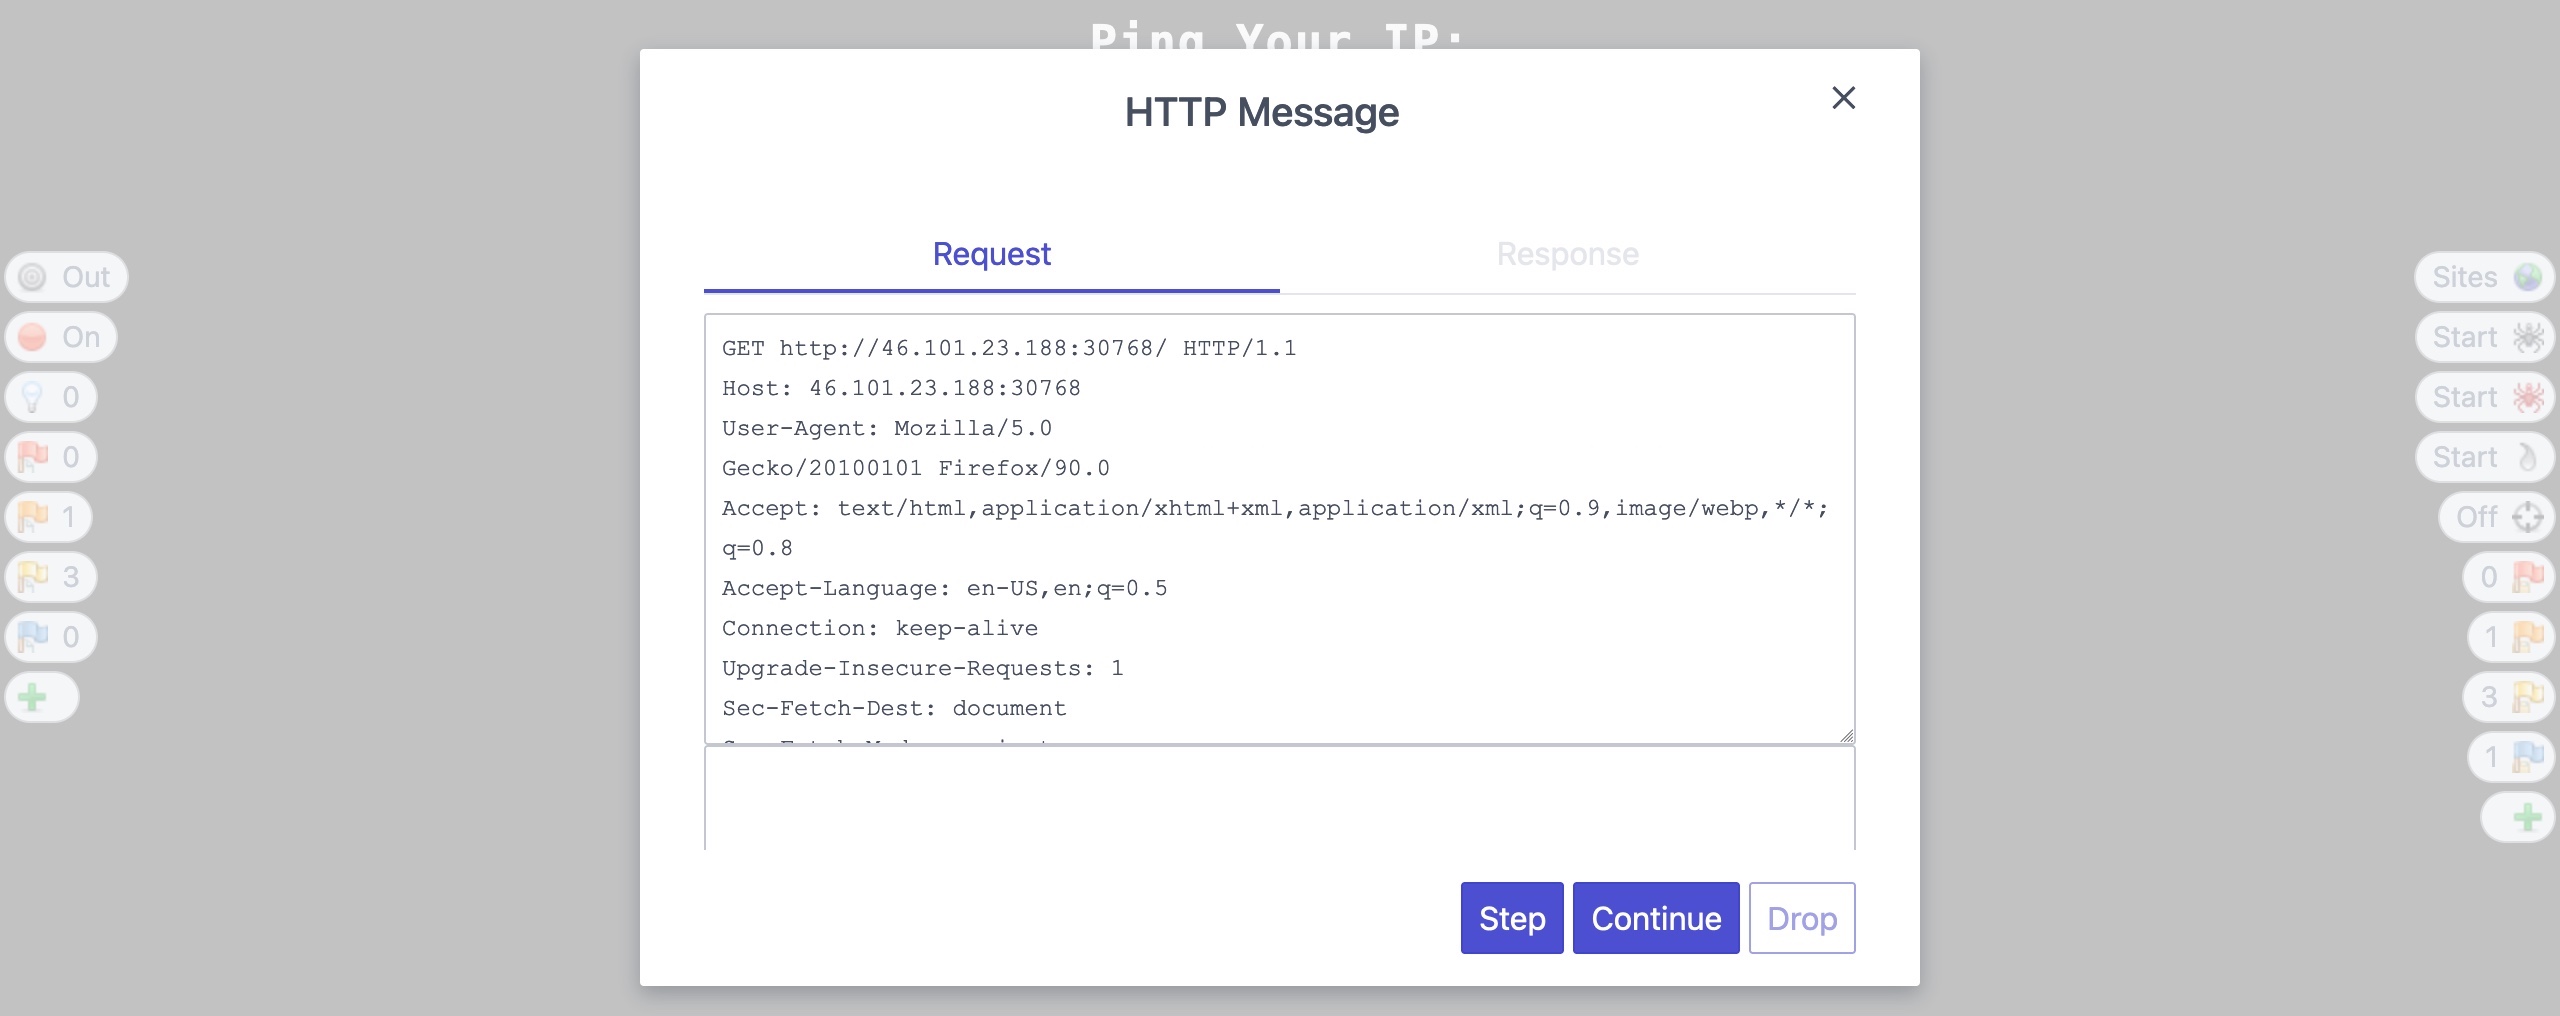
We can choose to step to send the request and examine its response and break any further requests, or we can choose to continue and let the page send the remaining requests. The step button is helpful when we want to examine every step of the page's functionality, while continue is useful when we are only interested in a single request and can forward the remaining requests once we reach our target request.